Pages

Showing posts with label DIY. Show all posts

Friday, September 25, 2015

A house made of pallets

I have never jumped on the pallet wagon. I would like to think it was because I avoid the trendy. However, I squealed like a little girl when I noticed an empty pallet laying in the yard. Where, oh where, did this piece of blank canvas come from??
"Can I have this?"
"What in the hell are you going to do with that?", he replies.
"Do you have any idea all of the amazing things that can be done with this piece of crappy wood??"
So much for seeking out the esoteric.

Since many of you may also be pallet virgins, I have rounded up some cute ideas to wow all your friends with. This is just the beginning of pallet madness though. You can literally find thousands of ways to use this utilitarian object.
Home Depot, be warned.

Clockwise: 1) Signs 2) Coffee Table 3) Wall 4) Bookshelf

Clockwise: 1) Christmas Trees 2) Stick Pics 3) Flower Display 4) Wooden Star 

Wednesday, September 24, 2014

Orb of hatching spiders


You will need:
White glue
2 bowls
Plastic spoon
Balloon (I used 11 inch size)
Cheesecloth cut into 12 to 16 strips (3 x 18 inch)
Pin
Clear fishing line
Plastic spiders (I used 16 but wish I had bought more)


Empty the glue bottle into a bowl. Fill the bottle halfway with water, shake it to dilute any remaining glue, and add the contents to the bowl. Stir mixture well.


Inflate the balloon and set it aside in the other bowl.


Individually dip the cheesecloth strips into the glue, gently squeezing out the excess fluid.


Spread the strips flat on the balloon. Cover the balloon this way, leaving 3 or 4 small gaps and a 1.5" opening around the knot for tying the spiders on later. 


Let dry. I left mine to dry overnight.


Pop the balloon with a pin and remove it. 


Tie a loop for hanging the egg at one end of a long piece of fishing line. Near the top of the egg, insert the other end of the line through the cheesecloth, then reach inside and pull it out through a nearby gap and tie a spider to it. Gently pull the line back until the spider comes to rest against the egg, thereby securing the line. 


Use more fishing line to create strings f spiders. To tie them to the egg, thread one end of the line through the cheesecloth and out a gap, knot the line, and pull the knot back inside the egg. You can also attach more spiders directly to the egg simply by poking 2 or 3 legs through the cheesecloth.


Here is our finished product!


Friday, September 19, 2014

Snakes on a Wreath


This is a super simple project that has a lot of impact. I love the way it turned out!


You will need rubber snakes (I used four but if you are using a larger wreath, you will want more)
Black spray paint
Grapevine wreath
Floral wire
Wire cutters

Spray paint the snakes black.

Spray paint the wreath black.

Affix snakes to wreath using the floral wire and hang.

You could fancy this up even more by using black ribbon or tulle, spiders, whatever. Looks pretty cool as is though :)

Sunday, September 14, 2014

Prep time


Some Fall and Halloween prep around the Scott house.....in pictures.

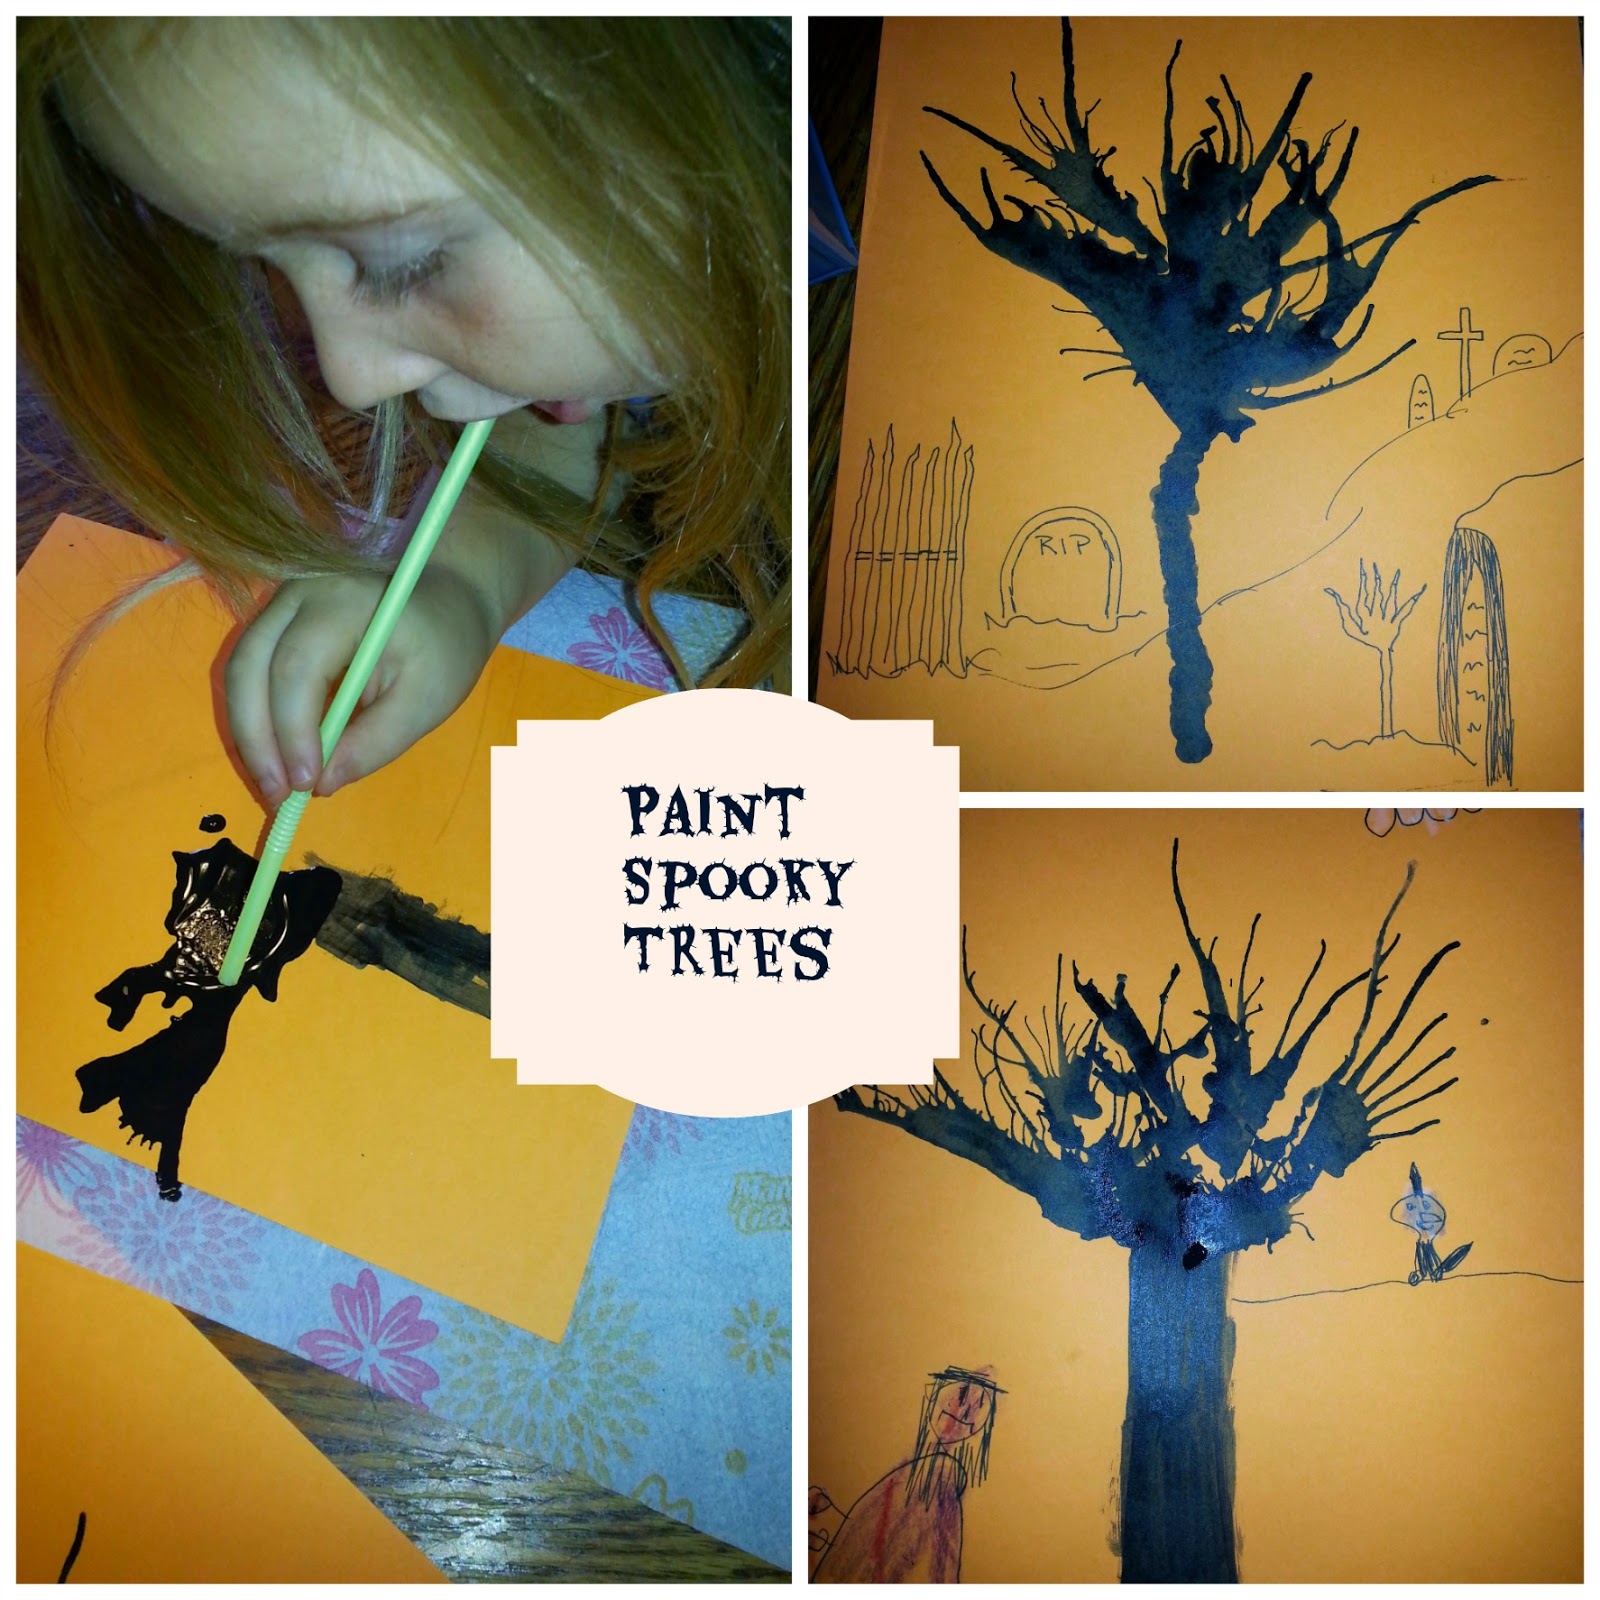
Painted some spooky trees using watered down black paint, a straw, and breath!


Spray painted some branches black
Took a walk around the stores and looked at all of the awesome Halloween decor.
Got out some of my Halloween decorations because I couldn't wait any longer!

                      Put Ms. Watkins on the door and admired her life-like hair....um. oh. Surely not.


                 Cut mice out of black construction paper and taped to stairs. This looks so real in candlelight.

This is as far as I got today. I was hoping the hubby wouldn't notice that I had decorated just an eentsy bit but he did. Must have been the gargantuan tarantula climbing the stairs. I am doing quadruple Halloween decorating duty this year. I have the house, the library Halloween Carn-evil, the annual Bonfire and maybe (fingers crossed) another little shindig in the works ;)
I think a little head start to the season is called for!


Saturday, February 1, 2014

Canvas Fabric Art

You will need:


-Stretched canvas frame
-Disappearing ink marking pen
-Your choice of fabric (large enough to wrap around your canvas)
-Mod podge
-Staple Gun
-Acrylic Paint
-Paintbrush or foam brush
-Scissors
-Template of object you are painting on canvas (or you can free form it, which I found easier).

Lay canvas frame in the center of the fabric. 


Tightly wrap fabric around frame and staple in place. 


The fabric should be taut.


Using a paint brush or foam brush, coat with a layer of Mod Podge.


Let dry completely.


While your canvas is drying, draw your template on cardstock or posterboard.


This is where you would use the disappearing ink pen to draw in your design. If the darn pen works.... which mine didn't. So I just improvised at this step so don't be eyeing my crooked cone.


I put on a couple of coats of paint in order to cover up the fabric print. 


Here is another canvas I made. Hurry up Spring!


I love the contrast between the feminine fabric and the bright paint. This would have been pretty cool in a neon pink or yellow too! I am planning on making one for my oldest with chevron print fabric and a big S. The possibilities are endless.


Monday, January 27, 2014

Old book necklace tutorial

Have you ever looked at something and thought that it was super cool and unique and just downright Fab? Even as you were thinking this, somewhere in the crevasses of your subconscious you  also knew it was not something you would ever wear? Well, I should have listened to the voice in my head because while I like the idea of this project, I do not like it enough to wear it. Have you ever felt that way about things?

List of things you will need:

40" of chain
Jump rings
Lobster clasp
2 pages from an old book
Posterboard
Glue
Mod Podge
Scissors
Matches/Lighter
Hammer
Nail
Needle nose pliers (optional)
Stain (optional)


Step 1. Cut one 15" length of chain and one 18" length of chain.

Step 2. Attach both ends of each chain to jump ring.


Step 3 - Glue the old book pages to a piece of posterboard


Step 4 - Trace a quarter seven times onto the old book paper. Cut out.


Step 5 - Apply wood stain. This is optional. You could leave them how they are but I was going for an aged look. 


Step 6 - Apply varnish or Mod Podge to cut out circles and let dry. 

Step 7 - Using a nail, hammer a hole into the top of each circle.


Step 8 - Attach each cut out to a jump ring and attach to necklace. Use needle nose pliers to re-align jump rings. If you do not know how to open a jump ring correctly, check out this link first - Proper Technique


You now have a finished necklace.
Hopefully, it is one you plan on wearing!


Wednesday, January 22, 2014

Chair Renovation

I have had this ugly dining room chair since we moved into our home over 10 years ago. I am a bit embarrassed to admit that I hung on to it with the intention of giving it a face lift. It took me 10 years to start it and only one hour (minus drying time) to complete it. I hate to think of all the things I could get done if I would just quit procrastinating or waiting for the perfect time. 

Ugly chair.
Start by removing the chair cushion from the frame. Then using a flat screwdriver, pry up the old staples in order to remove the ugly, faded fabric.
Here are the components of the chair seat: sturdy board base, layer of cushion, fabric. Replace any of these as seen fit. All of mine were in good condition.
This is the cushion pad.
Beautiful piece of gray fur I had hanging around. Because who doesn't have a random piece of gray fur?
Lay cushion in center of fabric. Lay chair board on top of cushion.

Pulling fabric tightly, staple the fabric to the board. Wrap corners of fabric like you would a Christmas present. Don't be scared of going a little staple crazy. You want the fabric to stay put. And there is something seriously satisfying about the ker-pow of a staple gun, No??
Paint chair frame. Let dry.
Finished seat cushion. (Well, almost finished. I went back and fixed that little bulge in the front. Blasted thing.)
Secure seat back onto chair frame. 
 

Finito! What a beauty!!All my girls are fighting over who gets it. It is mine, I tell them with a small maniacal glint in my eye. Mine.